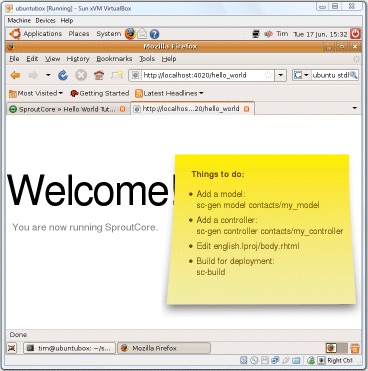
If you check out the installation instructions for SproutCore you will notice that Windows developers are not really catered for (though I am sure it can be done). I also noticed some Windows issues in the Sproutcore forum. More evidence of the Windows/Unix disconnect.
Having been impressed by VirtualBox recently, I figured it might be easier to use VirtualBox and Ubuntu.

Here’s how it went. I ran up a new VirtualBox image and installed Ubuntu. Very easy; just point VirtualBox to the Ubuntu install iso. This worked, except that Ubuntu did not recognize the video driver and defaulted to 800 x 600 resolution. Solution: install dkms in Synaptic (or using apt-get); then install the VirtualBox Linux Additions. That gave me 1024 x 768, which is good enough.
Next, you need to install Ruby (developer version) (use sudo or root)
apt-get install ruby
apt-get install rubygems
apt-get install ruby1.8-dev
and some build tools as one of the SproutCore dependencies (hpricot) calls make when installed:
apt-get install build-essential
I thought that would be enough, but my first go at installing SproutCore failed, apparently because gem is not on the path. Although it seemed to work, I got “command not found” when running sproutcore. So:
export PATH=$PATH:/var/lib/gems/1.8/bin
Now you can install SproutCore:
gem install sproutcore
Several components, such as hpricot, ask which version to install. I chose the variant designated (ruby).
After that, the Hello World tutorial ran exactly as expected.
By the way, although this example makes it look as if SproutCore is a dynamic server framework, it is not. The usual way to deploy a SproutCore application is as static files; the server arrangement is for debugging.
Note: the command above only amends the path for the current session. To make it permanent, I added the following to lines to the end of /etc/profile (needs root permissions to edit)*:
PATH=$PATH:/var/lib/gems/1.8/bin
export PATH
*See comment below for an even better suggestion.
